Dehydrated Watermelon and Fermented Watermelon Rind
By Michael Bradley
Hello, friends. I was asked by Terry Novax to put together a slide show of my new favorite creation. I present to you: dehydrated watermelon (and fermented rinds!)
This stuff is good. I mean, really good. If you have a sweet tooth, I’m talking to you. When it’s all said and done, dehydrated watermelon is basically candy. But I feel better about eating it since it’s just watermelon without all the water.
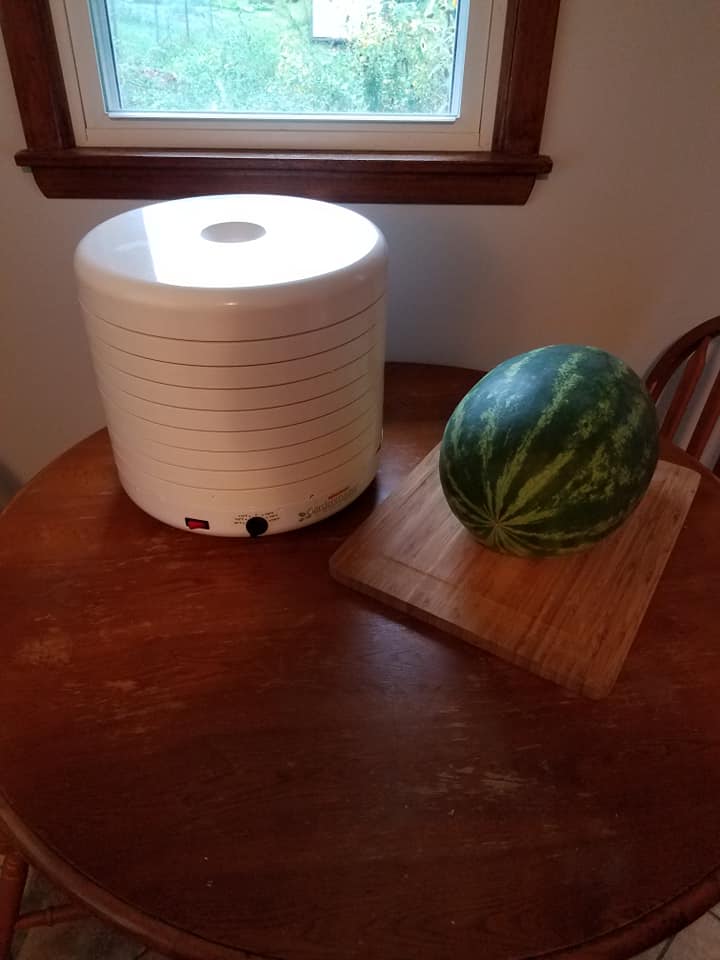
Ok, so here we go. First off, you’ll want to find a watermelon and a dehydrator (both of those are pretty necessary parts of this project). Beyond that, you’ll probably want a knife, cutting board, jar, spoon and large bowl. Optionally, you’ll want some extra jars, salt and a food scale for fermenting the rinds.
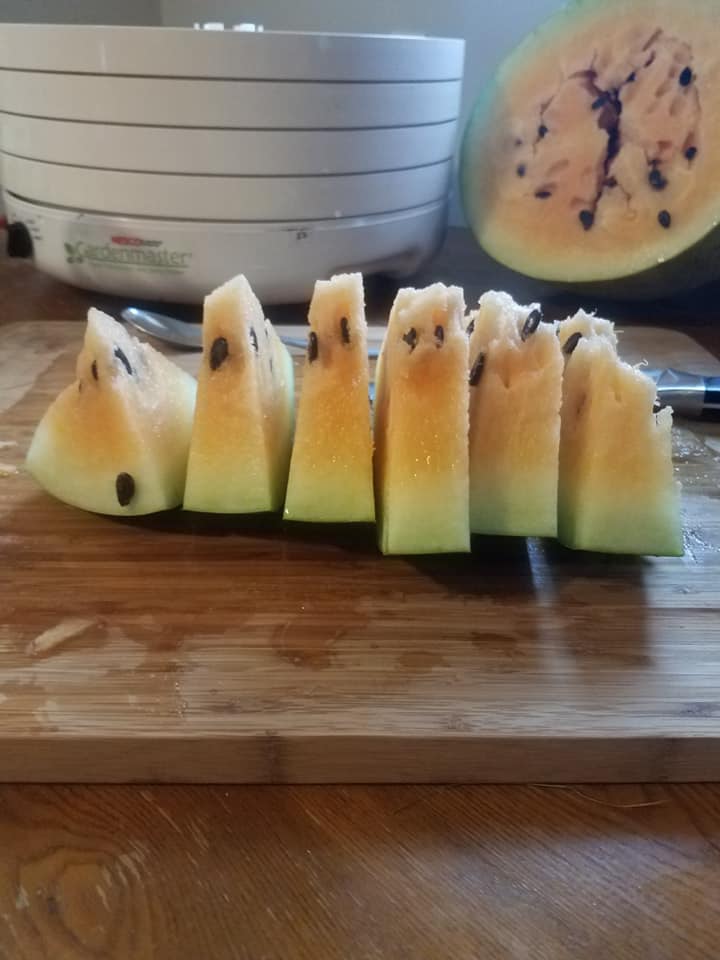
I begin by halving the watermelon and then quartering one of the halves, then taking the quarters and slicing them up into, well, slices. I like to slice mine about an inch thick so the slice stays mostly intact for the next step.
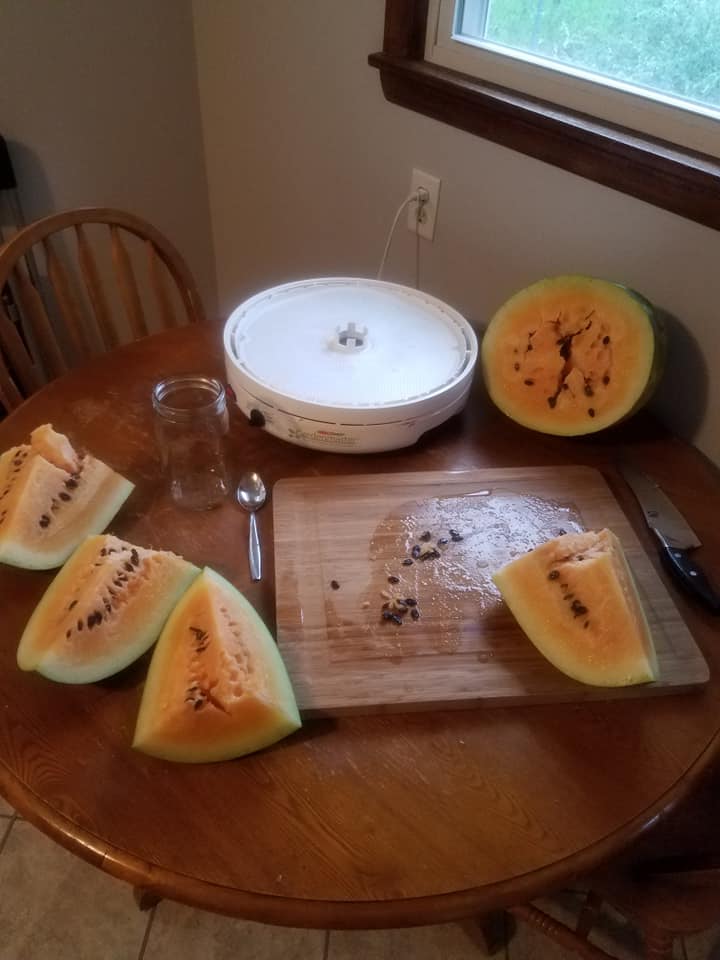
Here’s where the spoon, jar, and bowl come in handy. Holding each slice by the rind, gently scoop the seeds out of each slice (I’ve used a spoon and the tip of my knife to do this work. Both have merit.) and into the jar. You can just compost or toss them, but since I grew my own, I want to save the seeds.

SAVING SEEDS: If you’re saving them, you’ll want to do a float test with the seeds. When you’re all finished processing the watermelon, fill the jar of seeds up with some clean water. Discard the floaters, and strain the ones that sink. Lay the sinkers in a single layer on a towel to dry. It might take a couple of weeks to fully dry them, so set them and forget them. When they’re good and dried, you can store them for next year in an envelope or jar in the fridge.

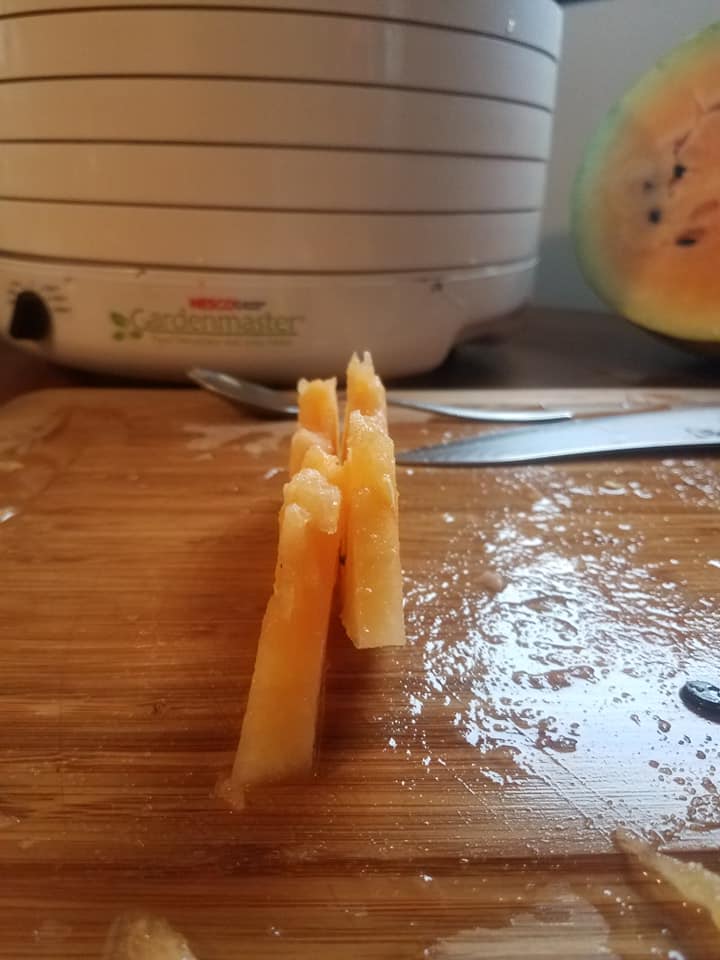
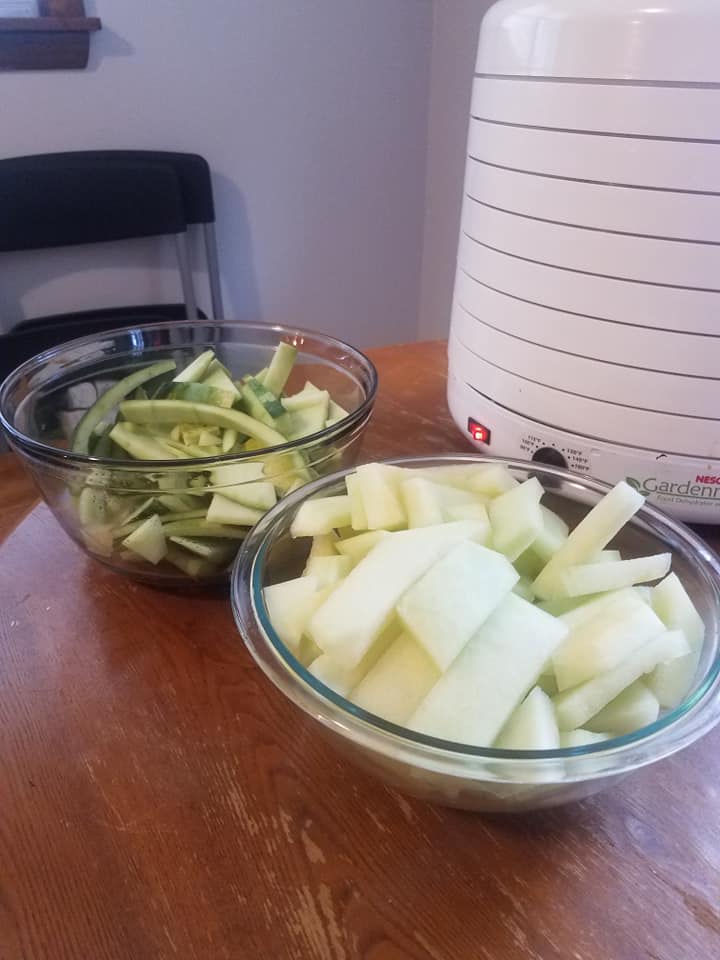
BACK TO THE WATERMELON: after you scoop the seeds out of each slice, use your knife to cut the rind off. Use your bowl to discard the rinds (but you can save them for later!) Next, cut the slice in half again along its length, leaving you with slices that are around half an inch thick (you can leave the slice thicker if you want – you’ll just end up with a chewier product that will take longer to dehydrate).
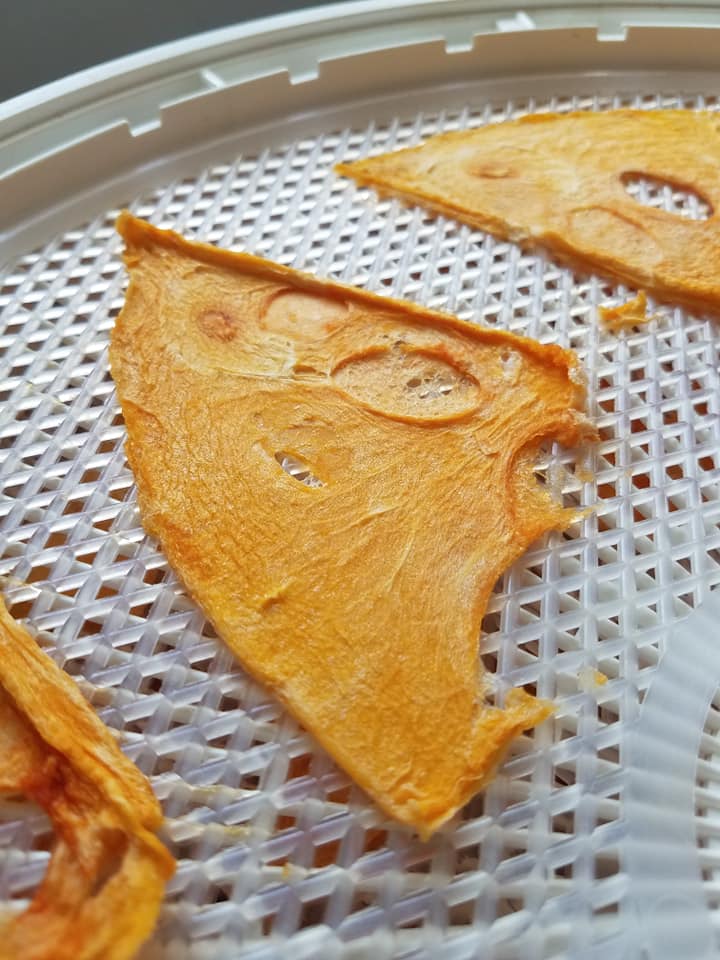
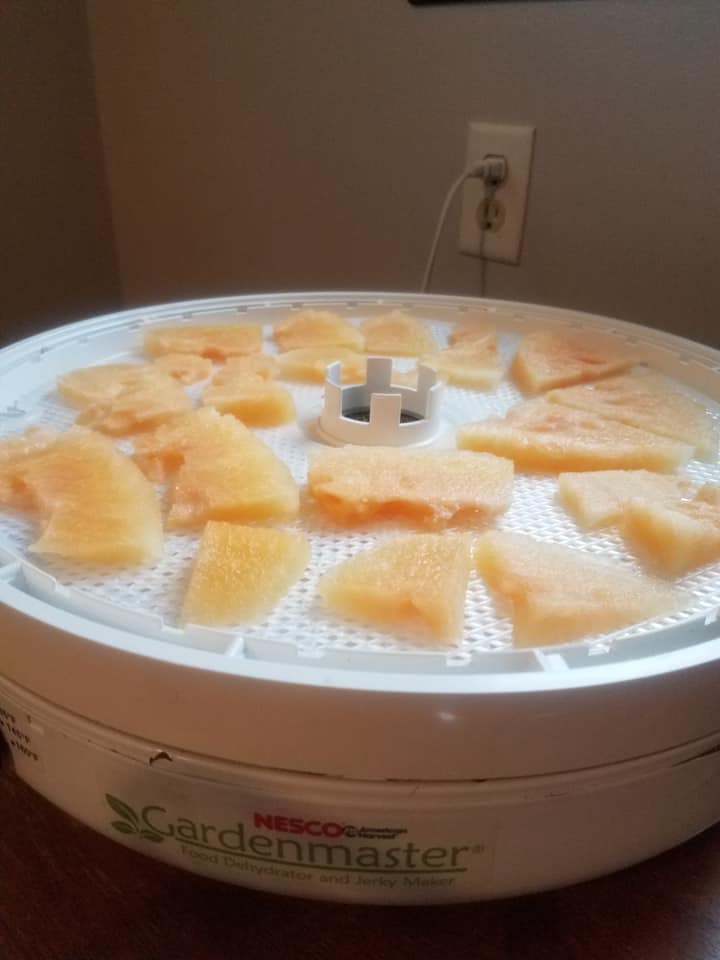
Take your pieces and start loading them into the dehydrator (I try to leave them as big slices because I like the way they look when they’re finished, but if they break apart, I promise they’re just as delicious). As you can see in the photos, I use a Nesco Gardenmaster Food Dehydrator with the slotted/grated plastic slips on each tray. If you have an Excalibur or other brand, just use whatever is comparable. Surprisingly, the watermelon drips very little, if at all, so using the vented slips helps tremendously to get air to all sides of the fruit.
When your dehydrator has reached capacity, close it up and turn it on to 135°F (I’m sure there are other temperatures that would work, but this is what I have used successfully). Now, the waiting game. Depending on thickness and temperature, the dehydration process should take anywhere from 18-24 hours. It seems like forever, but it is worth the wait.

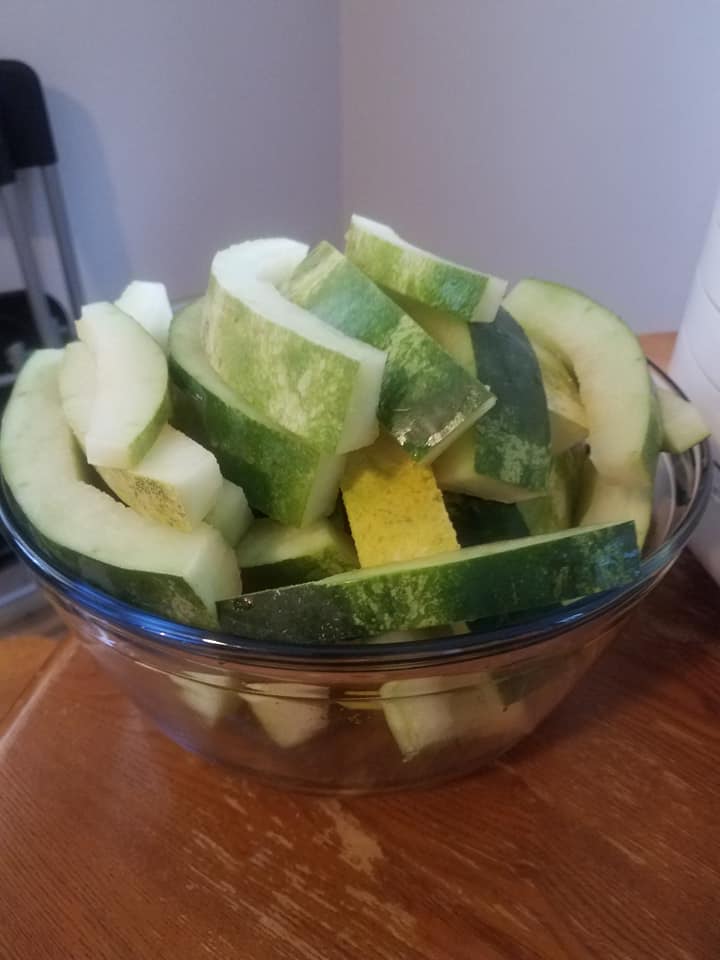
FERMENTED RINDS: Don’t waste the rinds! They make delicious fermented treats. You’ll want to start by carving all the watery flesh off the rind. The flesh gets tougher the closer you get to the skin, so just use your judgment as to how far in you want to cut. You can discard the remainder of the rind after this step, but be sure to save a few of the longer pieces of the rind to put into your ferment. Not only can they be used as a “weight” or “barrier” to keep your ferments under the brine, but lots of good garden bacteria exist on the skins of plants, so they will help to inoculate your brine and jumpstart the fermentation process.
I like to use a 2% salt brine solution for my fermentations (other herbs and spices are optional – I’m sure there are plenty of fun combinations out there, but for this project, I kept it simple). Start by weighing your vessel. I tend to use a lot of Ball quart jars, and they typically weigh in right around 420g.

Next, fill up the jar with your rinds, keep them down tight with a few skins, fill up the jar with enough water to cover, and then weigh that. Usually, the total weight with the jar ends up somewhere in the 1200-1300g range for me.
Subtract the weight of the jar (usually 420g for Ball quart jars) from that number and then multiply the subtracted weight total by 0.02, or 2%. The number you get is the salt weight you will use to brine your rinds. I tend to get a number that falls between 14-18g, depending on how much is in the jar.
Next, take a different vessel of choice and tare it out on the scale, then weigh out your salt total into the vessel. When you hit your number, pour off some of the water from the ferment jar into your salt vessel. Stir to dissolve the salt into the water. When the salt solution is ready, pour it back into the jar and then cap the jar with your lid of choice (I found some silicone nipple lids online that are great for allowing the ferment to burp itself but not allow oxygen into the airspace above the brine, but you can use whatever you’ve got – just remember to burp it if you use a close lid!)
Let it sit on the counter out of direct sunlight, taste it daily, and then stick it in the fridge when the taste is to your liking!
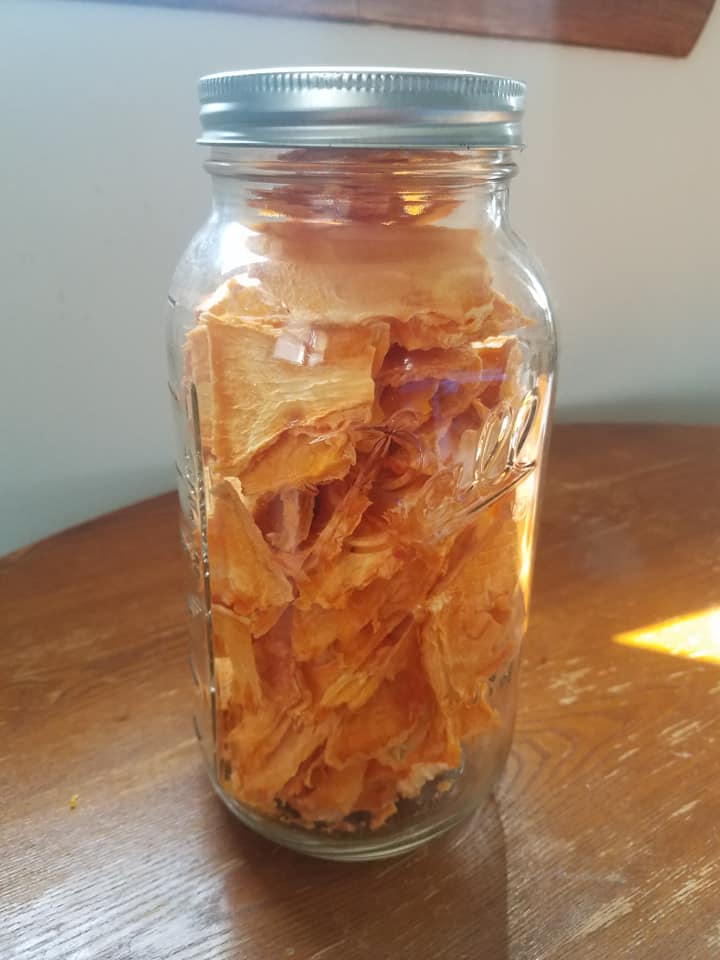
BACK TO THE WATERMELON: after the allotted time, check on your dehydrated goodies. If they aren’t tacky to the touch anymore, you are good to go! Turn off the dehydrator, wait a bit for them to cool, then peel them off the sheets and enjoy!

Put them in an airtight jar to store. I’m sure they would last for weeks or even months in a cool dry place, but they never last more than a couple of days at our house!
I hope you all give this a shot. It’s worth every bit of effort. Let me know if you have any additional questions about the process!

Responses